Free Webinar: Website Migrations & Redirect Mapping Dos & Don’ts Sign up now!


You can generate XML Sitemaps in Sitebulb, using the URLs from our website audit software as the source.
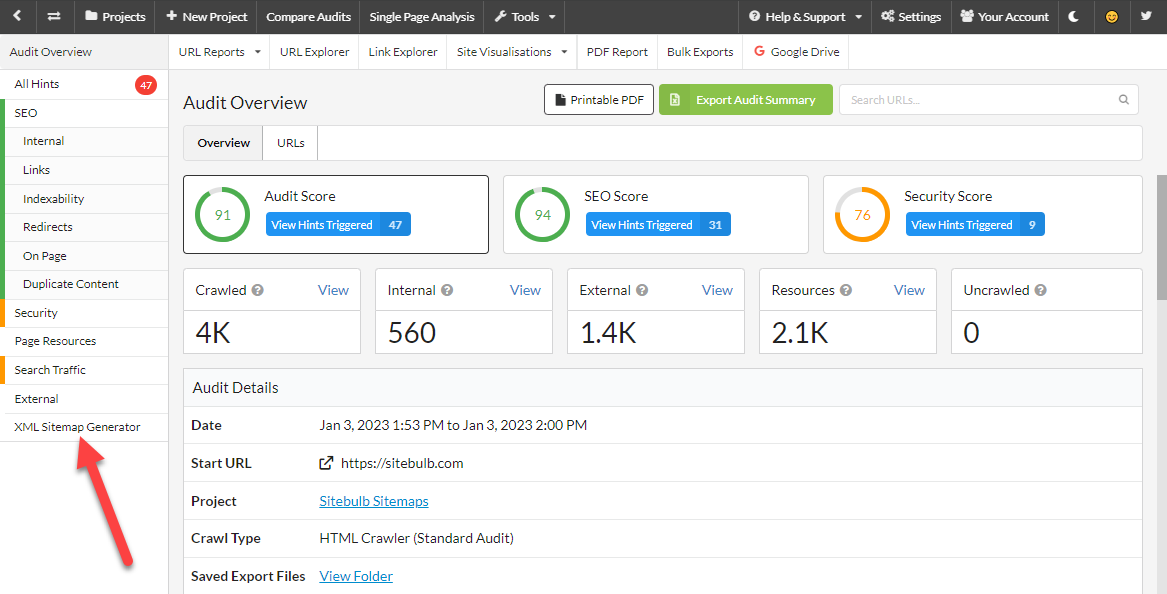
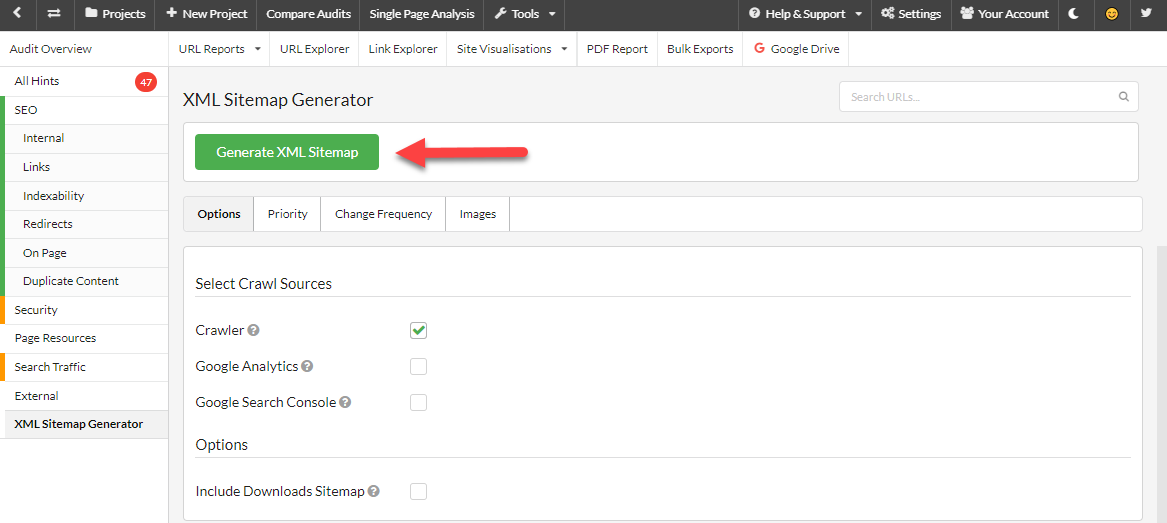
The first step is to crawl the website, and once Sitebulb has finished crawling, click on the XML Sitemap Generator link at the bottom of the side menu.
Please Note: Only HTML pages will be included in the XML Sitemap that are both successful (i.e. with a 200 response status) and indexable.
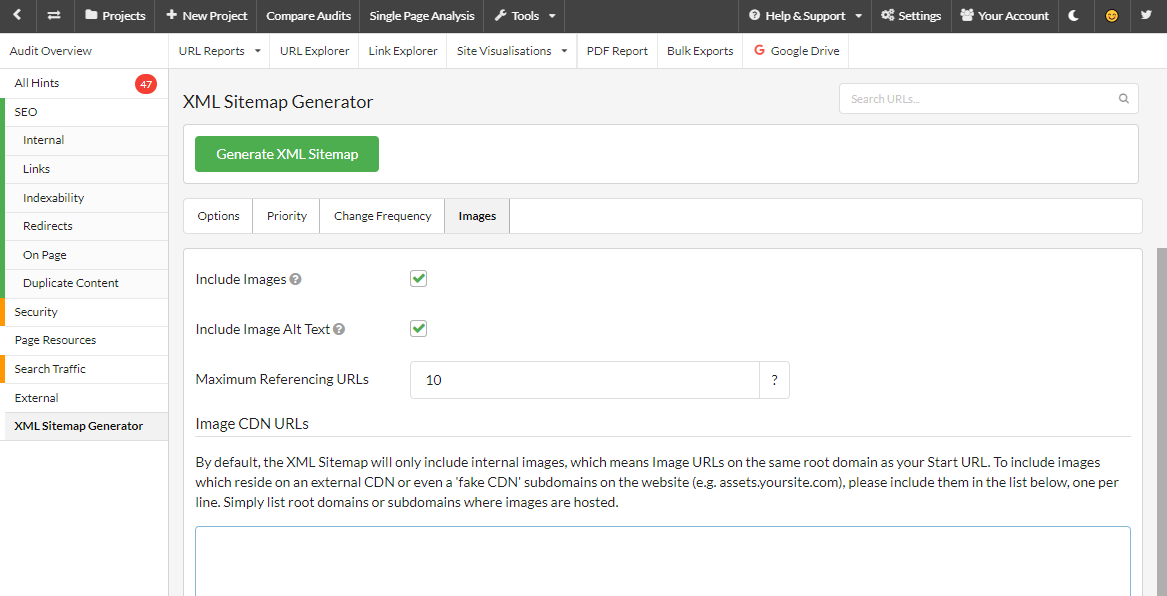
Here you can choose what crawl sources you wish to include in your sitemap:
The crawl sources that appear as options in this section will change depending on what audit options you selected (e.g. Google Analytics will only appear here if enable in your audit).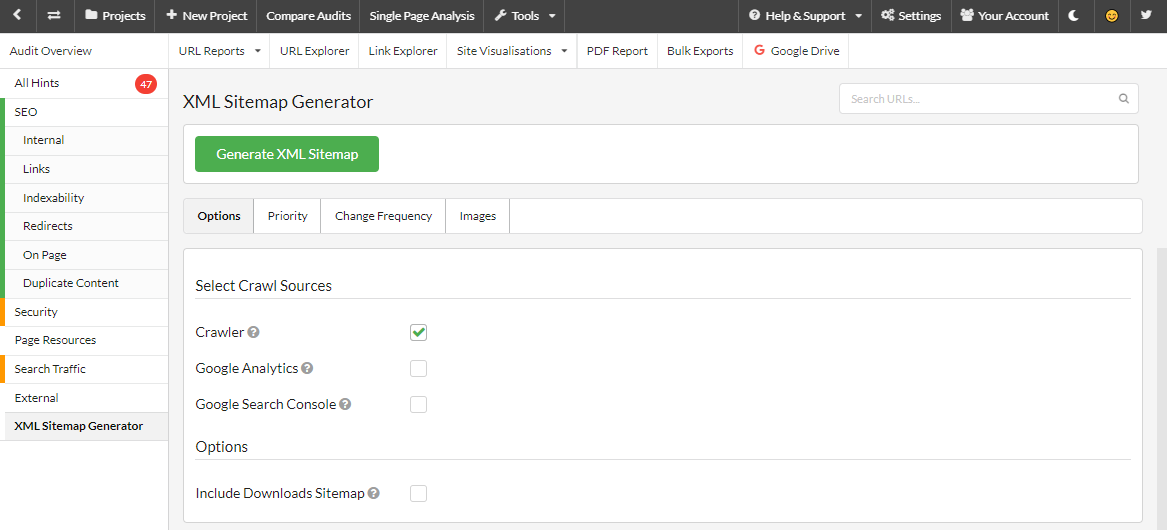
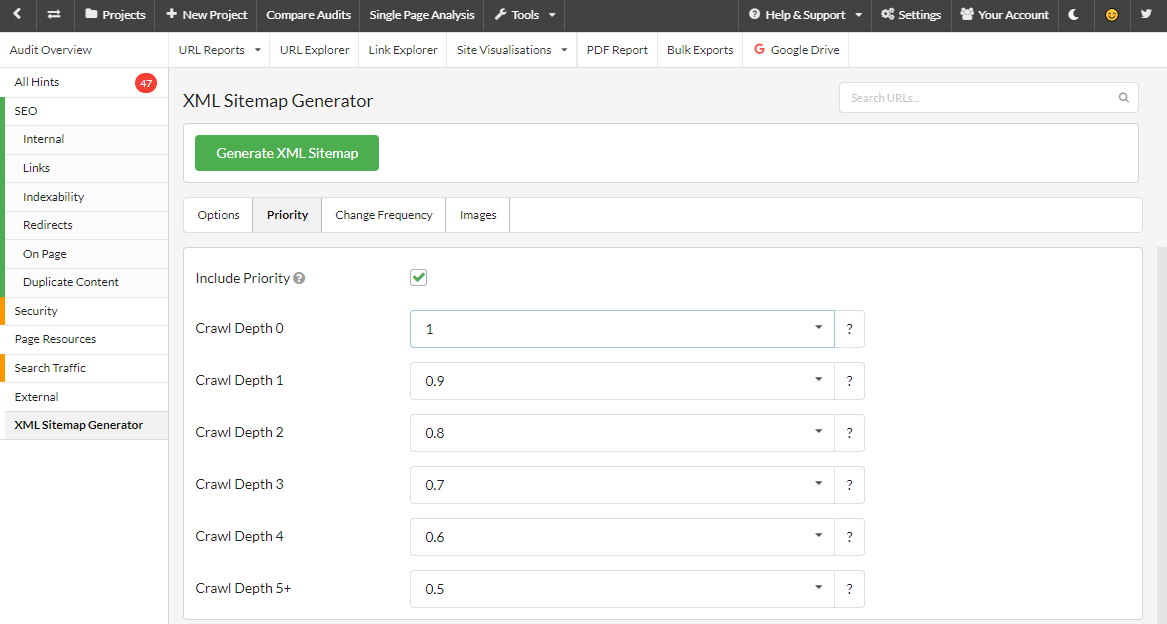
Include the "Priority" attribute to indicate to the search engines the relative importance of different URLs, from 0.0 to 1.0 (1.0 being the highest priority). Search engines apply many factors to determine their own understanding of crawl priority, so the priority attribute in sitemaps is not necessary but can be optionally included and customized.
You can configure these based on the depth of the URLs and select priority via the dropdown boxes.
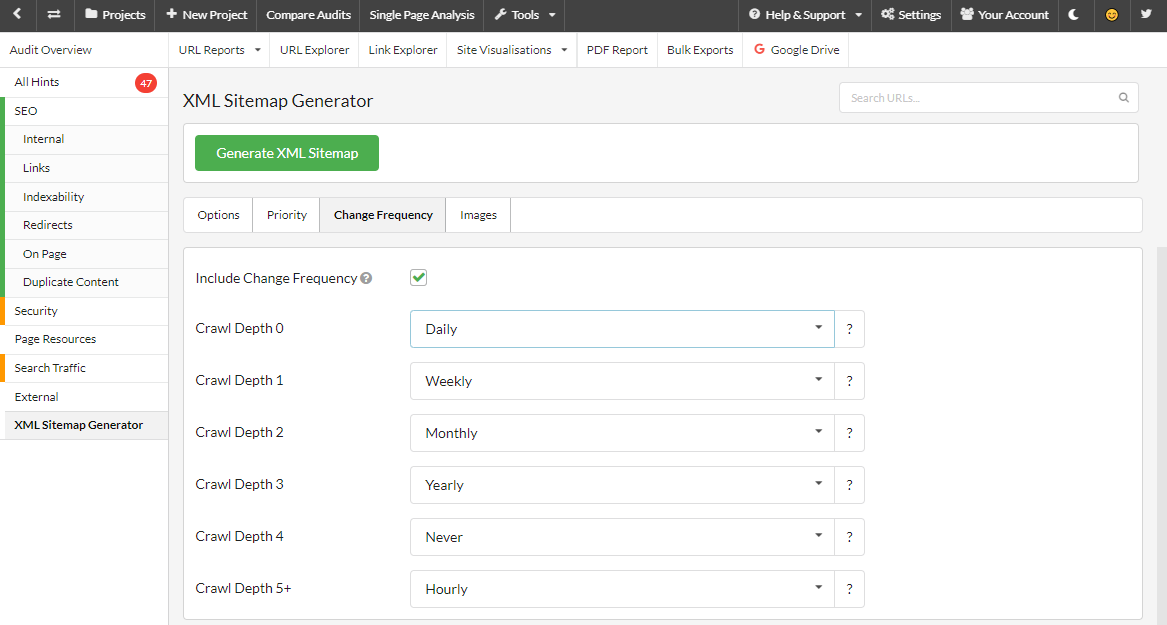
Include the "changefreq" attribute to indicate to search engines how often the page content tends to change. Search engines apply their own heuristics to determine how frequently they need to visit each page, so the changefreq attribute in sitemaps is not necessary but can be optionally included and customized.
You can configure these based on the depth of the URLs and select frequency via the dropdown boxes.
Once you have selected your options, click on the green Generate XML Sitemap button to start the generation process.
It will then ask you where you wish to save your sitemap and will then start generating.
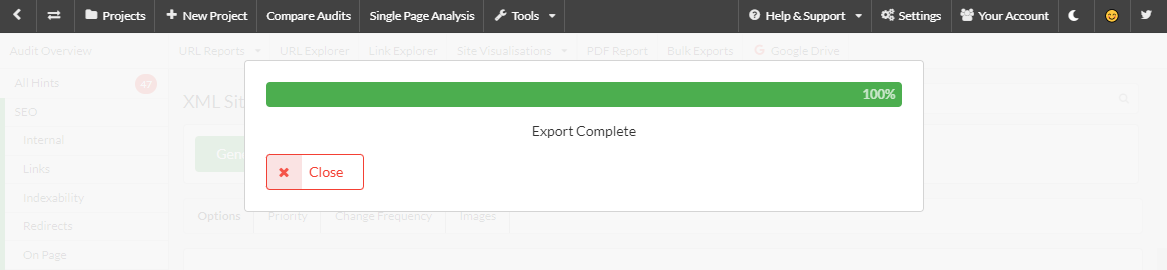
When this has been completed you can view your newly generated XML Sitemap, which you can open in something like Notepad to view.
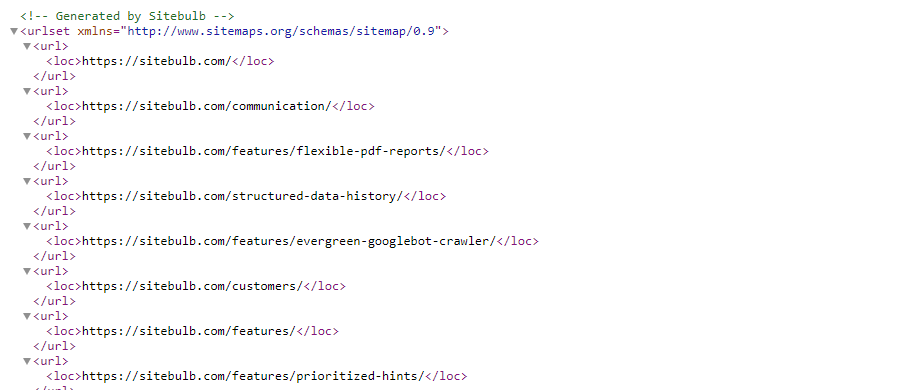
It should look something like this:
Here is an example of an XML Sitemap with the Priority option also selected:

Now you have created your XML Sitemap it is probably a good idea to submit it to Google Via Google Search Console so you can keep track of indexing.