This article explains how to get going with your DIY Server license, so you can get everything set up on your server (if you have a Sitebulb Cloud Server subscription, you do not need to do anything on this page).
Specifically, this guide relates to situations where you are using a rented/external server (e.g. AWS/Google Compute). If you are not doing this, and instead you are running your own server inside your own network, then please see our other guide about setting up Sitebulb Server on a local machine.
As a reminder, you must use the specific Sitebulb Server install file (.msi), which you can download from the Server Release Notes page.
Our base assumption at this point is that you have purchased a 'DIY Server' license, and you have access to a machine to install it on.
There are a few steps you will need to take in order to configure the server itself, to enable desktop Sitebulb users to connect to Sitebulb Server.
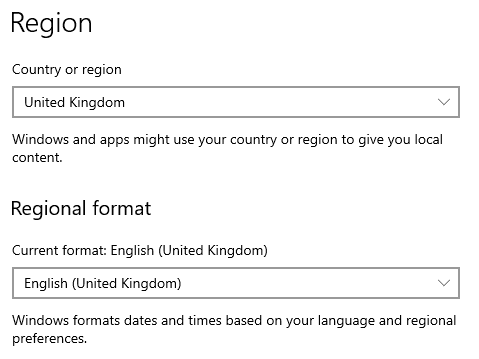
You will need to make sure that the server is running the correct time/date, otherwise this will mess up audit times and (in particular) scheduled audits - also make sure your regional settings are correct.
Make sure both the 'Region' and the 'Regional format' match up.
It is likely that you will need to open a port on the network firewall of your server, as often all ports are closed by default.
So you need to create a firewall policy to open port 10401, which is the port that Sitebulb Server uses.
Create a Remote Desktop Connection and log on to your server machine, then download and install Sitebulb using the 'Sitebulb Server' installer (.msi), which you can download from the Server Release Notes page.
Do not use the installer from our normal 'Downloads' page.
Sitebulb Server runs as a Windows service, which means that you will need to restart your server once installation is complete - please do not skip this step.
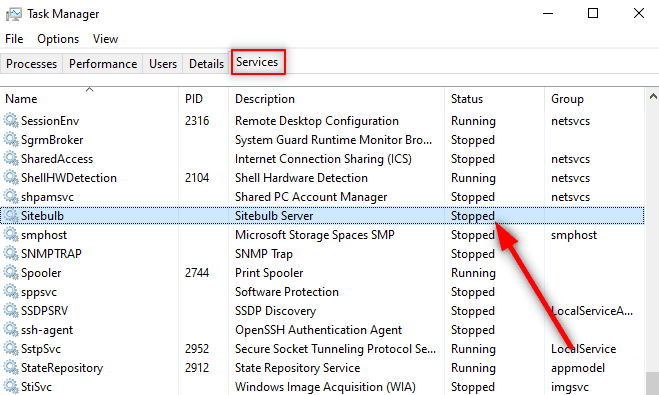
On some servers, once the installation/restart is complete, it will not automatically re-start the Sitebulb service - which means the application will not run.
If this happens, open up Task Manager and navigate to the 'Services' tab, you'll see the Sitebulb Server service listed as 'Stopped':
If this is the case, right click on 'Sitebulb' and click 'Start'.
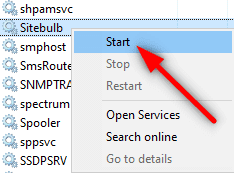
You should then see the status column change to 'Running'.
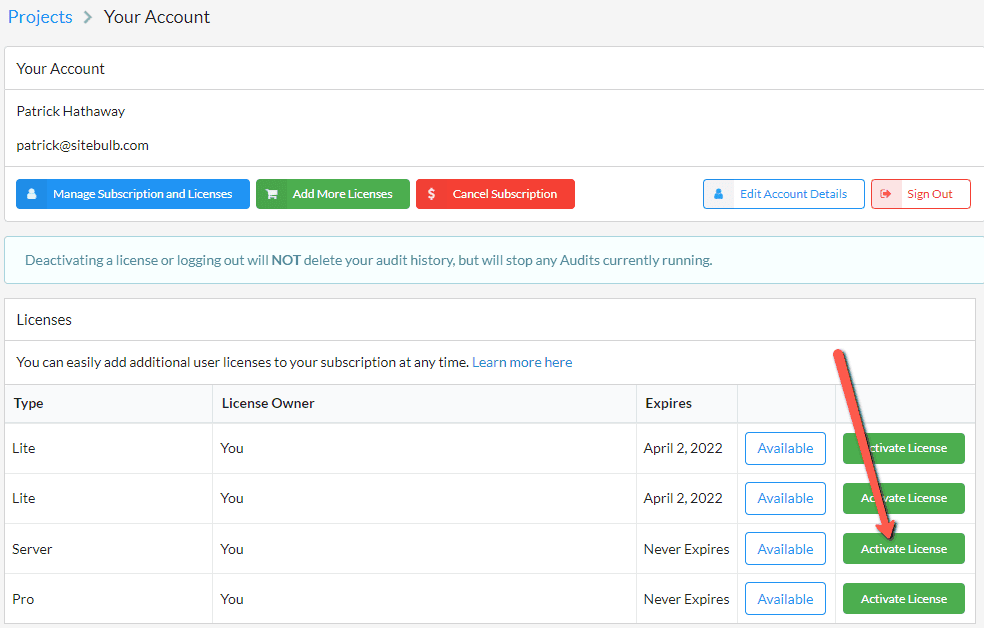
You should now be able to run Sitebulb from the desktop shortcut, and you will then need to login with your account and activate your 'Server' license:
That should be everything now set up on your server, and, ideally, you won't need to connect to it again via RDP (or at least until we release an update!).
Before you log off the server, make sure to copy the 'Admin' secret key, which will allow you to remotely control the server settings from your desktop version of Sitebulb.
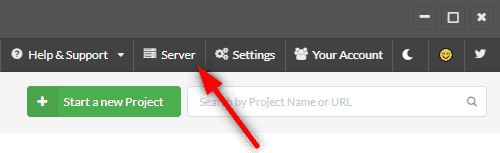
To find this, navigate to the Server settings panel via the link in the top navigation:
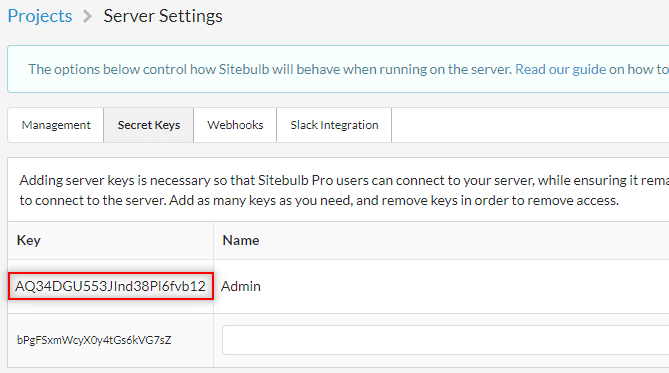
Then navigate to the Secret Keys tab, and you will see a unique 16 digit key will have been generated for 'Admin.' Copy this key as you will need it in the next stage when you connect to Sitebulb Server from your desktop machine.
The items you will need in order to connect to your server are:
That should be everything now set up on your server. One final thing to be aware of the the version of Sitebulb which runs on the server actually runs as a Windows service, rather than the typical executable program you are used to.
Windows services run in the background once the computer starts up - even if users are not logged in. This is significant as it means Sitebulb will always be running in the background, even if you get logged out or the machine decides to do some Windows updates.
This does mean the Sitebulb experience will be a little different - the machine will want to restart when you do updates, and the UI won't automatically appear (until you open up the program). Otherwise you should not notice a big difference, it mostly just means that Sitebulb will be more stable.
Now that the server is set up, it's time to move on to the final stage: 'Connecting to Sitebulb Server from your desktop machine'.